Honkai: Star Rail Sparkle (Sparkle SP) Gacha Guide
Sparkle is a limited 5-star Harmony support who makes Skill Point-hungry teams feel smooth. Her kit boosts an ally’s CRIT DMG and advances their action, while also raising the team’s Skill Point cap and rewarding Skill Point spending with extra damage.
This guide focuses on the part that matters most: getting Sparkle without blowing your budget. It works whether you’re chasing Sparkle on rerun or debut. You’ll see the pitiful math, stop points, and a simple savings plan.
If you top up at all, keep it tight and planned. BuffBuff is a direct option. If you’re short at the finish line, an HSR top up platform should only cover a planned gap, not fuel impulse pulls.
Why Sparkle Is Worth Pulling: What Sparkle Adds To Your Account

If you are still deciding, focus on what Sparkle uniquely does.
Sparkle is valued for supporting teams that consume a lot of Skill Points. She can push a teammate’s turn forward and boost team damage as Skill Points get consumed, which directly supports aggressive rotations.
That is why Sparkle is often recommended for SP-hungry DPS lines and Mono-Quantum style setups.
So your decision can be simple:
- If your favorite DPS often feels “Skill Point starved,” Sparkle is a high-impact fix.
- If your teams are already comfortable with Skill Points, Sparkle can still be intense, but she may be less urgent.
Sparkle Banner Basics: Pull Cost, Pity, And The 50/50
Start with the three rules that shape your budget.
Each pull costs 160 Stellar Jades (one Star Rail Special Pass). On limited Character Event Warps, hard pity is 90. So you are guaranteed a 5-star by your 90th pull if you do not get one earlier.
When you hit a 5-star on a limited character banner, you can face the 50/50. If you lose, the next 5-star on a future limited character banner is guaranteed to be the featured one (the guarantee carries over to the same banner type).
That is the core math behind “minimal spending.” It is not vibes. It is planned around these rules.
Sparkle Minimal-Spend Budget: The Worst-Case Math You Should Know
Here’s the clean way to set a ceiling before you pull.
Worst-case for Sparkle (no guarantee saved):
- You might need two 5-star hits: one where you lose the 50/50, then one where you win via guarantee.
- Each 5-star hit can take up to 90 pulls.
- Worst-case pulls = 90 + 90 = 180 pulls.
Now convert pulls into Jades.
- 180 pulls × 160 Jades per pull = 28,800 Stellar Jades.
That 28,800 number is your hard ceiling if you want a strict “I will get Sparkle no matter what” plan.
If you already have a saved guarantee (meaning you lost your last 50/50), your ceiling drops significantly.
- Worst-case becomes 90 pulls.
- 90 × 160 = 14,400 Stellar Jades.
How To Check Your Current Sparkle Pity Before You Spend
Do this before you even touch the banner.
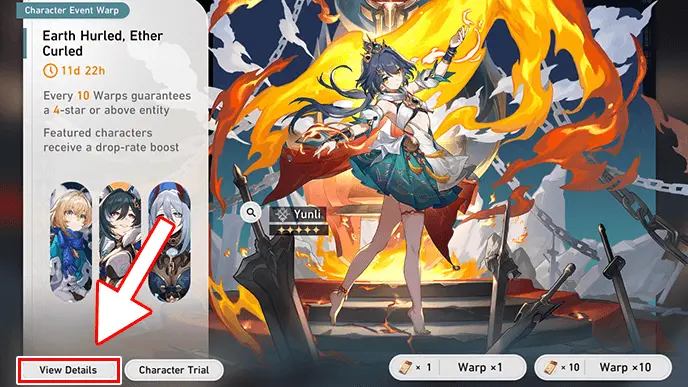
- On the Warp menu, click the View Details button.
- Click the Records tab to view your pulls for the past 6 months.
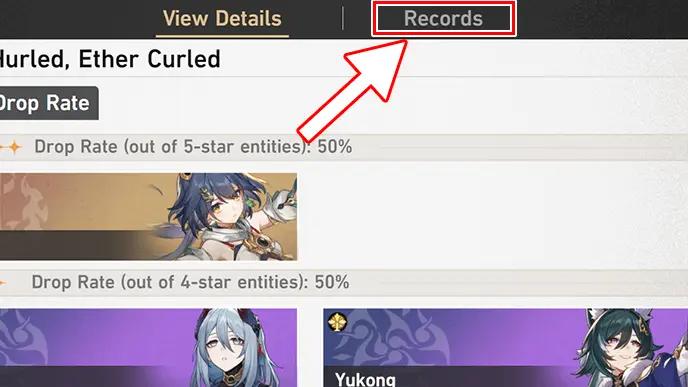
- Go to the page where you last pulled a 4-star or 5-star, then start counting from there.

The only way to track your pity is to manually count the pulls you’ve done since your last 4-star or 5-star.
Also, remember this: Character banner pity carries over to the next limited character banner, but it does not jump across banner types (character vs. Light Cone vs. standard).
This is how you avoid “accidentally overspending” when you are already close.
Sparkle Pull Strategy With Minimal Spending: A Simple Two-Step Plan
Minimal spending comes from discipline, not luck.
Step 1: Pull until your first significant outcome.
Your first significant outcome is your first 5-star result on Sparkle’s banner. If you get Sparkle early, stop. Do not keep pulling “to build pity.” That is the fastest way to destroy a budget.
Step 2: Only chase Sparkle if your plan allows it.
Suppose you lose the 50/50, pause. Look at your remaining Jades. Look at your ceiling. If you cannot reach your planned ceiling, stop and save the guarantee for a future banner rather than panic-topping up. The guarantee can carry forward, so stopping is a real option.
This is what “minimal spending” actually means. You decide your chase rules before the emotional moment hits.
Sparkle Light Cone Spending: How To Avoid Turning One Goal Into Two
A typical budget mistake is adding a second target mid-pull.
Sparkle’s signature Light Cone is Earthly Escapade. If your goal is “get Sparkle with minimal spending,” treat the Light Cone as optional.
If you do want to consider the Light Cone banner, know the rules first:
- Light Cone hard pity is 80.
- Featured odds on Light Cone banners are commonly described as 75/25, with a guarantee after a miss.
So the budget math can climb quickly if you chase both Sparkle and her Light Cone. If you are genuinely in minimal-spend mode, Sparkle first is the clean play.
When A Top-Up Makes Sense For Sparkle: Spend Only To Close A Planned Gap
Top-ups are not the enemy. Unplanned top-ups are. A smart top-up happens when:
- You have already done your pity check.
- You know your ceiling (14,400 or 28,800 Jades, depending on guarantee).
- You are short by a specific number of pulls.
- You only buy enough to cover that gap.
The flow is straightforward: pick a shard amount, enter UID and region, then your shards are delivered to your account.
Sparkle Minimal-Spend Checklist: Use This Before You Hit “Warp”
You are ready to pull for Sparkle when:
- You know your current pity from Records.
- You know the hard pity ceiling for characters (90).
- You understand the 50/50 and guarantee carry-over.
- You have a stop rule after your first 5-star result.
- You will not add the Light Cone goal unless you planned for it.